本文最后更新于 2025年6月10日 晚上
前言
之前我使用较多的UI库就是Element Plus和Naive UI,这两个库也确实很好用,但借着这次项目代码被删(见网站变更),我想试一下一个听闻已久的UI库,那就是DaisyUI
这次安装经历可以说是有点曲折的,因为各种版本问题,所以写篇文章分享一下
DaisyUI介绍
这是DaisyUI的官网链接,它作为一个Tailwind CSS的UI库但却可以少些很多类名,例如实现同一个按钮它们所需要的代码量如下
1
2
3
4
5
6
7
8
9
| //Tailwind原生
<button
class="inline-block cursor-pointer rounded-md bg-gray-800 px-4 py-3 text-center text-sm font-semibold uppercase text-white transition duration-200 ease-in-out hover:bg-gray-900">
Button
</button>
//DaisyUI
<button class="btn">Button</button>
|
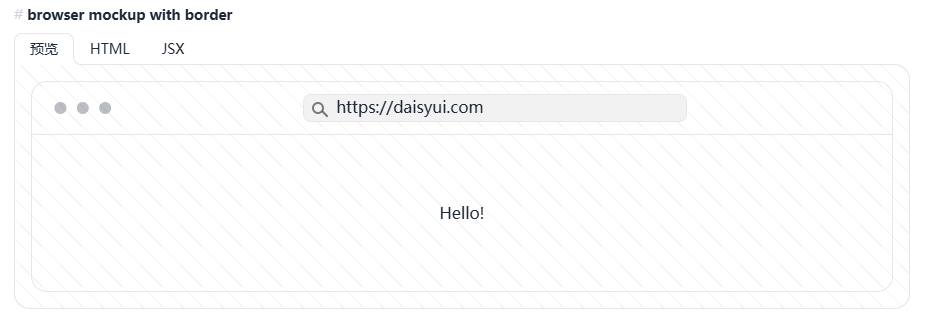
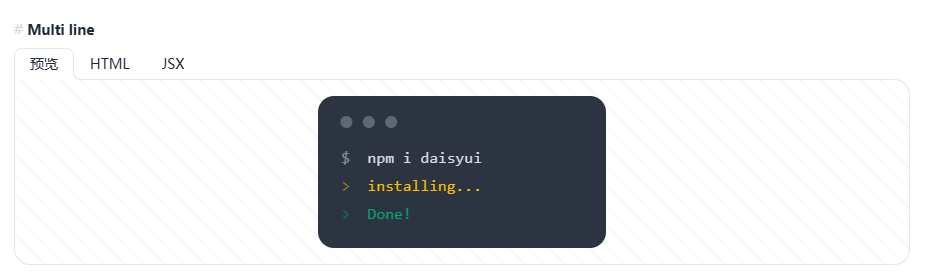
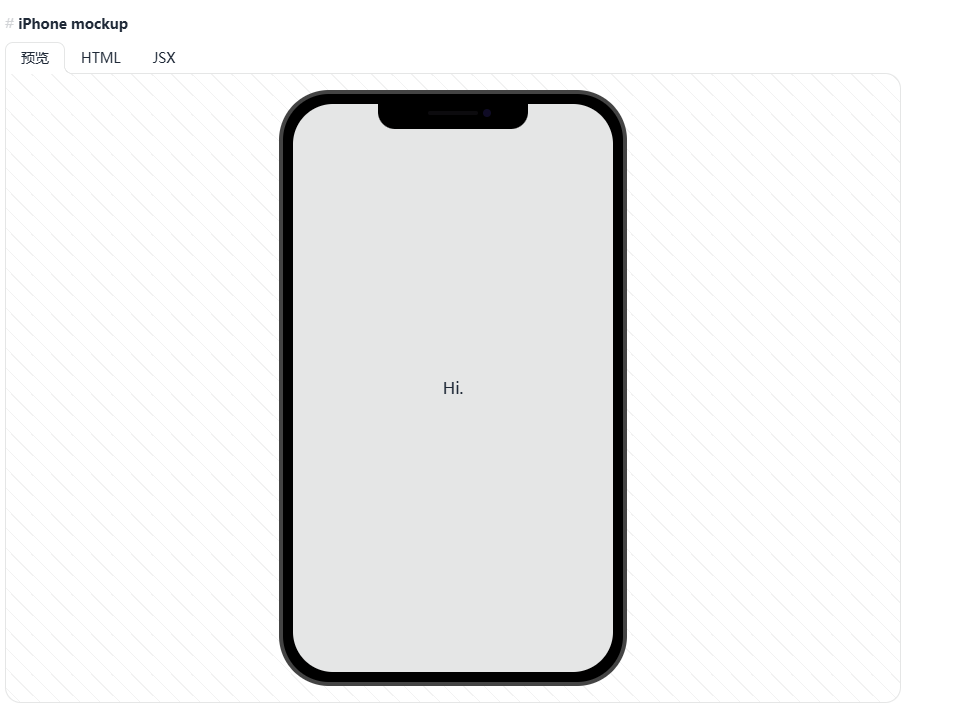
并且它包含了55个基本的组件以及32中设定好的主题,当然开发者也可以更具需求自定义组件或主题,得益于Tailwind CSS它比传统的Vue组件库更加灵活,只需要对class进行修改就可以自定义其样式,其中也不乏许多别的组件库没有的东西,例如浏览器,代码块,手机等
安装过程
创建项目
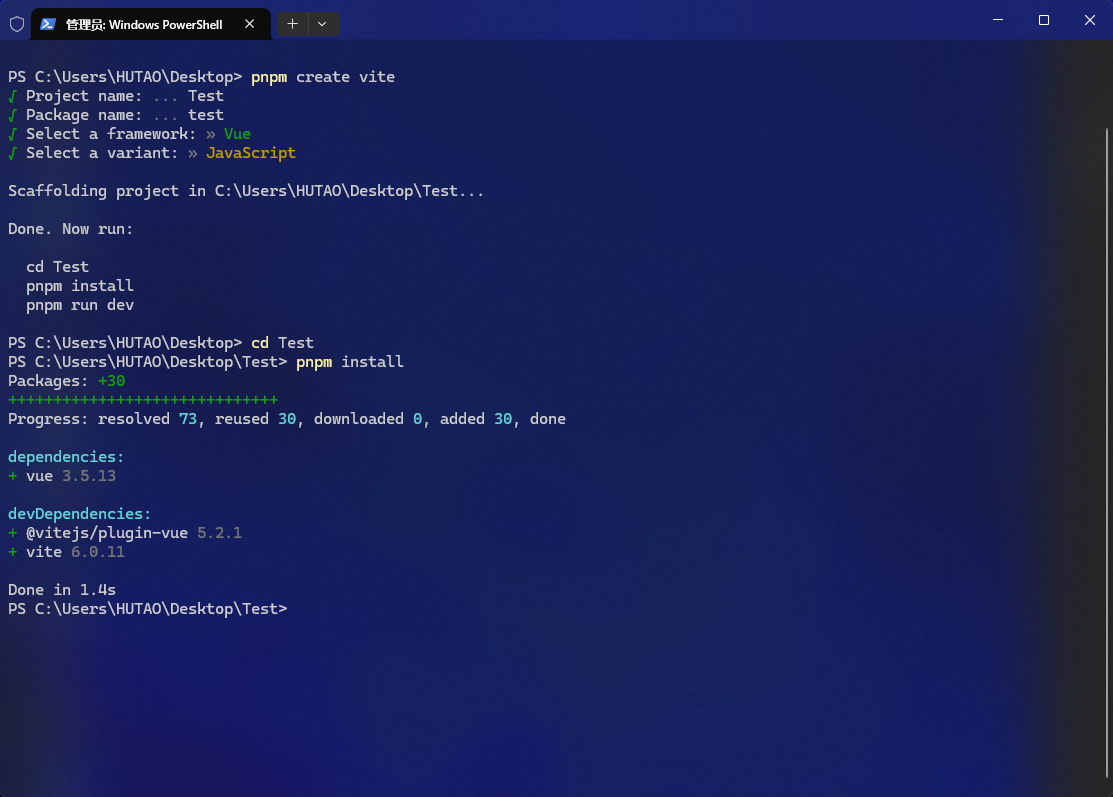
首先使用vite+pnpm创建一个vue3项目,这一步已经很熟悉了就一张图带过了
安装Tailwind
由于我们这次安装的daisyUI是4.12版本的因此我们的Tailwind CSS选择使用3.4.17,参照文档进行安装,不同的是需要指定一下版本以及把npm替换成pnpm
如果直接按照文档安装的话会出现很多奇怪的问题
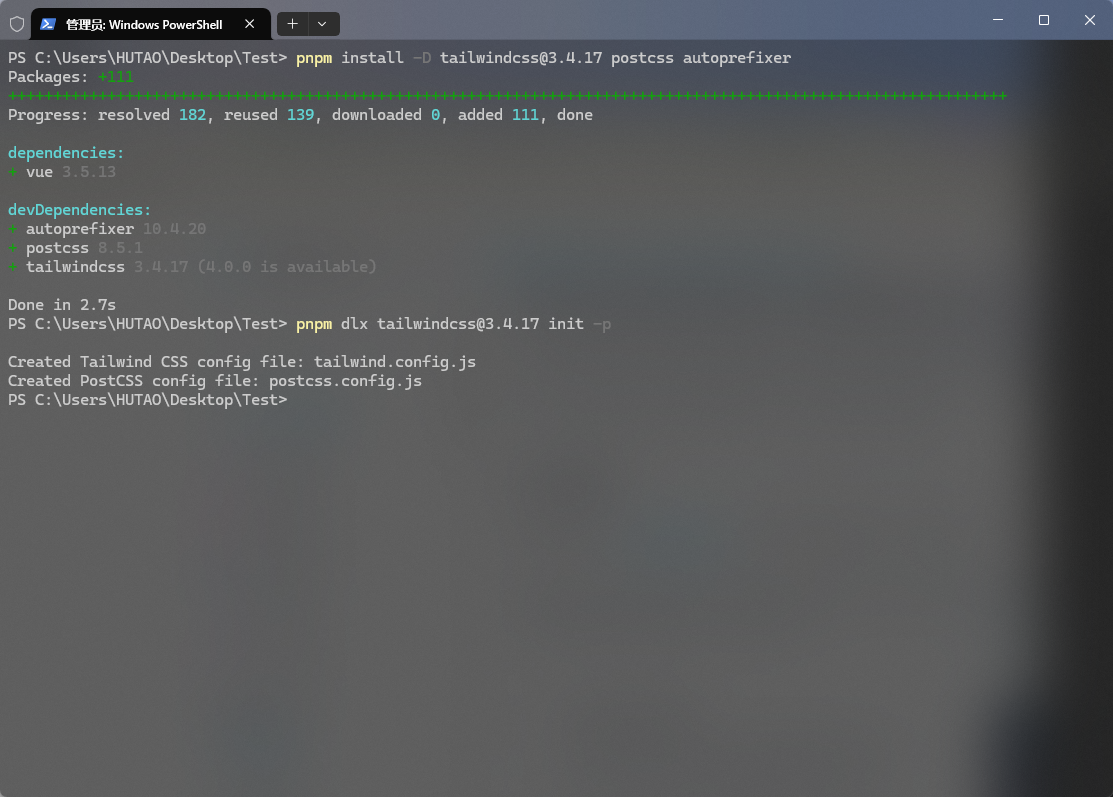
1
2
| pnpm install -D tailwindcss@3.4.17 postcss autoprefixer
pnpm dlx tailwindcss@3.4.17 init -p
|
然后还需要修改一下配置文件以及引入CSS文件
1
2
3
4
5
6
7
8
9
10
11
12
13
|
export default {
content: ["./src/**/*.{html,js,vue}"],
theme: {
extend: {},
},
plugins: [],
}
|
postcss.config.js
1
2
3
4
5
6
7
8
9
|
export default {
plugins: {
tailwindcss: {},
autoprefixer: {},
},
}
|
main.js
1
2
3
4
5
6
7
8
9
|
import { createApp } from 'vue'
import './style.css'
import App from './App.vue'
createApp(App).mount('#app')
|
style.css
1
2
3
4
5
6
|
@tailwind base;
@tailwind components;
@tailwind utilities;
|
然后再在App.vue中看一下效果
1
2
3
4
5
6
7
8
9
10
11
12
13
14
15
16
| //App.vue
<template>
<div>
<h1 class="text-3xl font-bold underline">
Hello world!
</h1>
</div>
</template>
<script setup>
</script>
<style scoped></style>
|
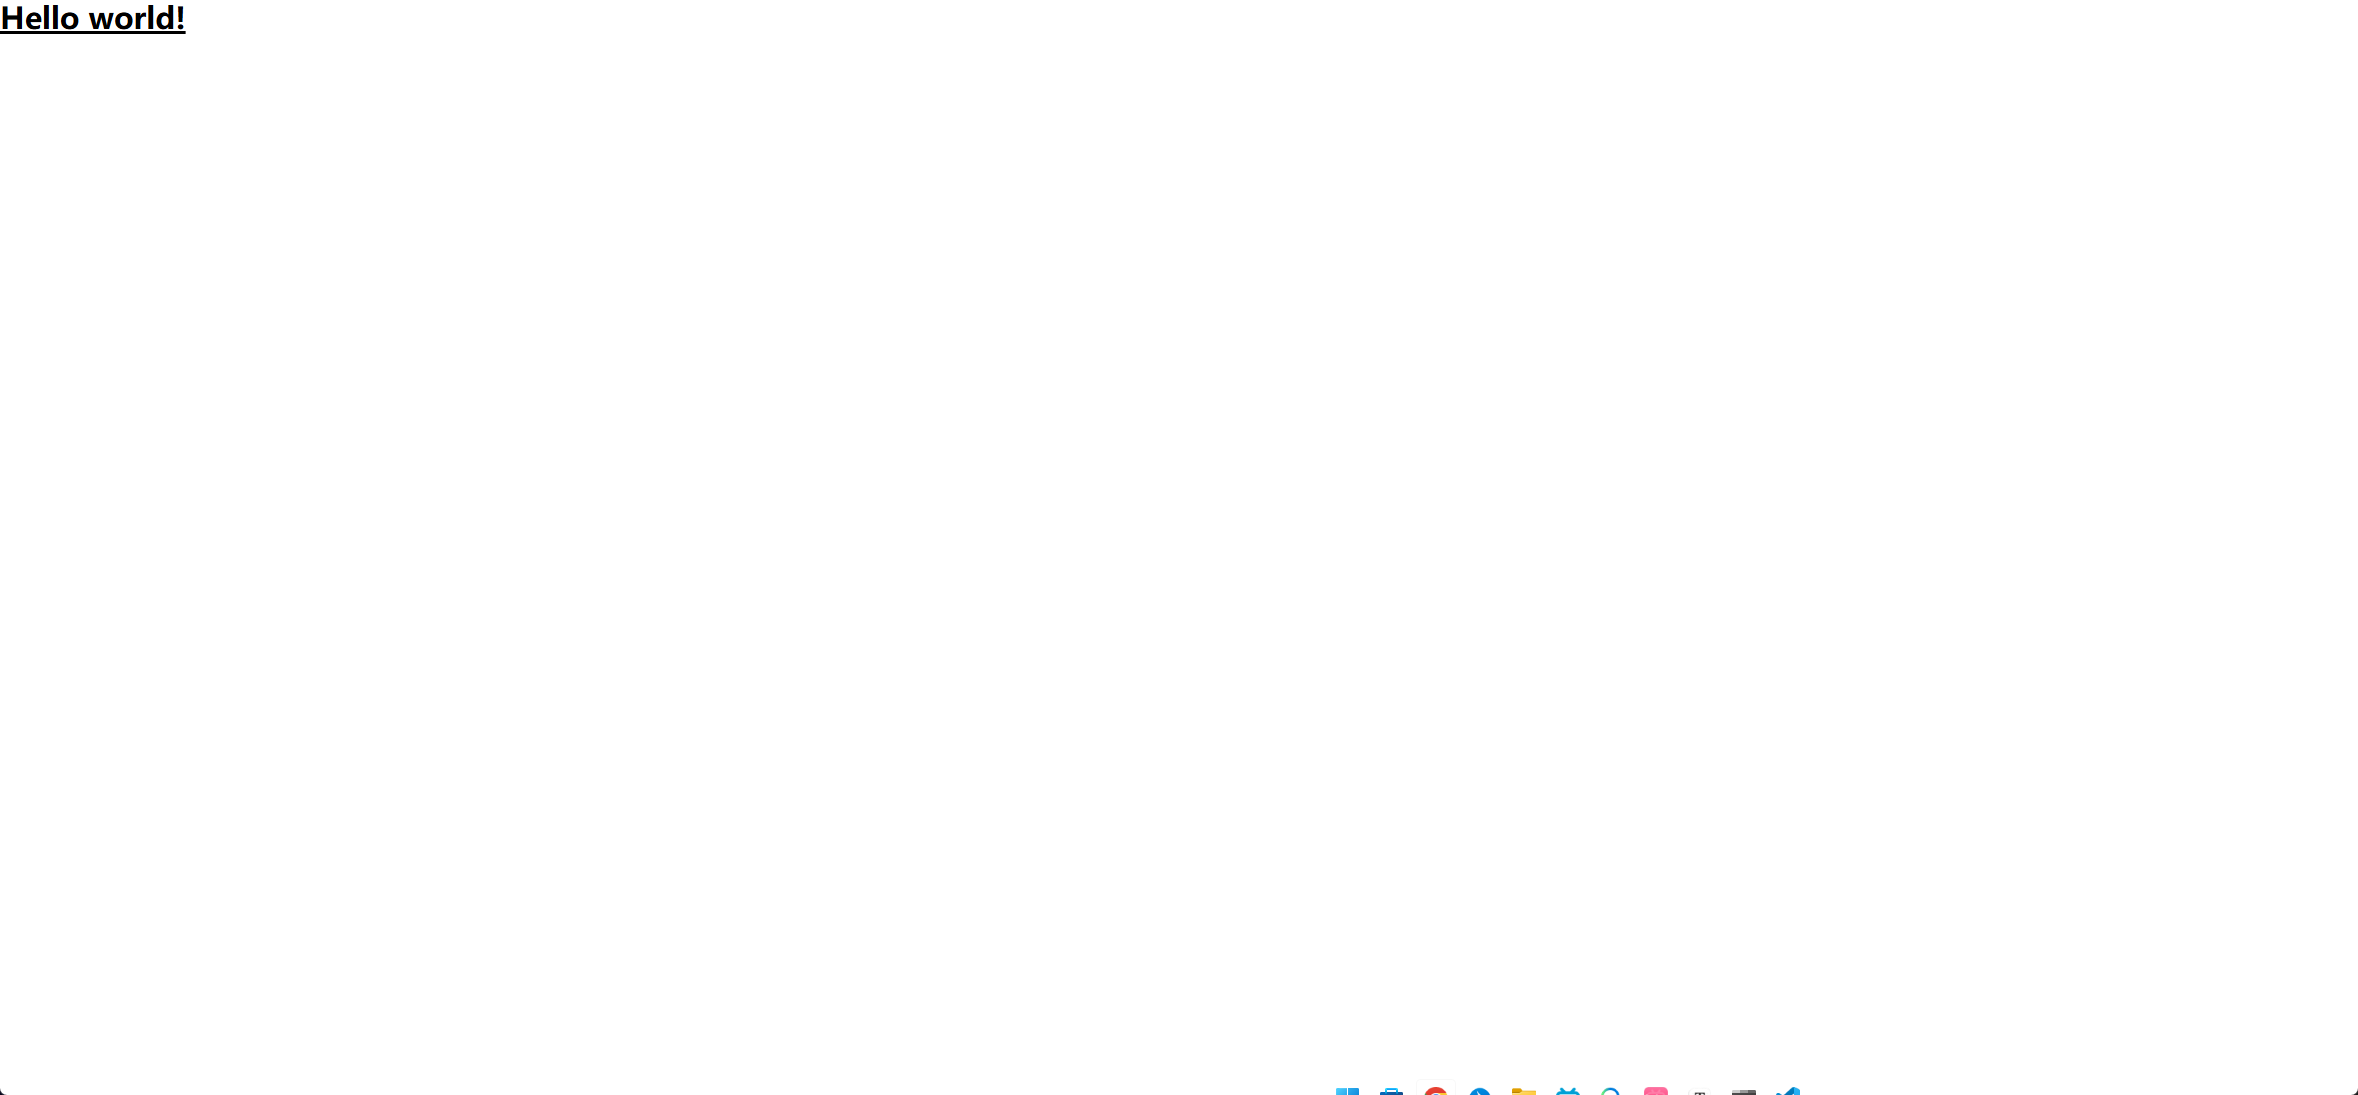
运行之后如果出现如图所示的画面说明安装成功
安装daisyUI
终端输入
1
| pnpm add -D daisyui@latest
|
然后tailwind.config.js中
1
2
3
4
5
6
7
8
9
10
11
|
import daisyui from 'daisyui'
export default {
content: ["./src/**/*.{html,js,vue}"],
theme: {
extend: {},
},
plugins: [daisyui],
}
|
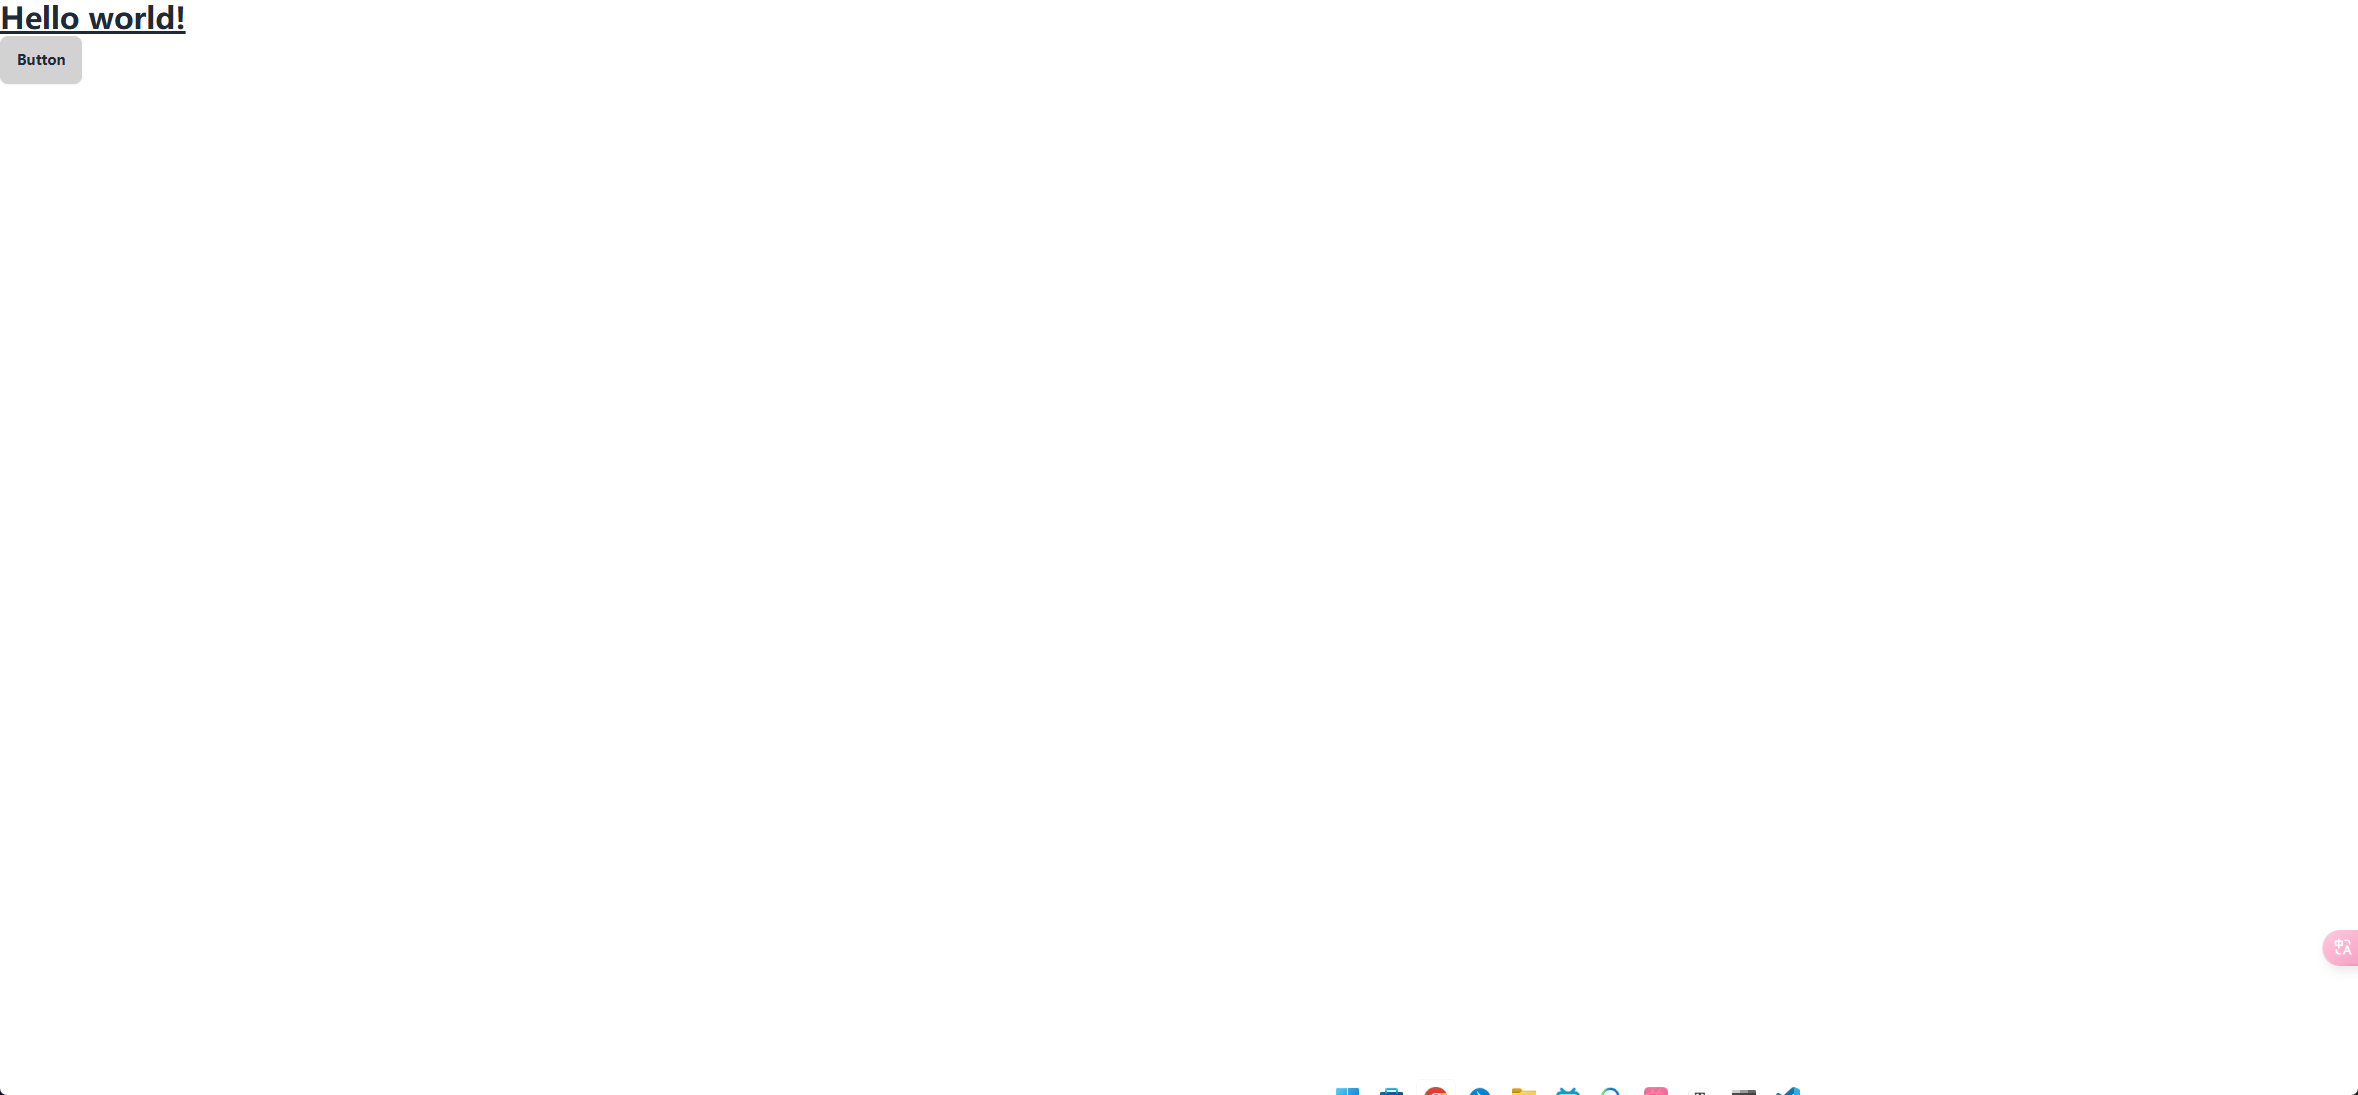
在App.vue中添加
1
| <button class="btn">Button</button>
|
然后再次运行项目出现如图的按钮,则说明安装成功啦
THE END
OK啦,以上就是本次的安装过程了,但似乎有点太水了,但我以后应该没这么多时间来水文章了,因为高中的学习还是有点压力的,而且我想画时间去研究更深层次的东西,所以放在写文章以及开发一些GUI的精力应该会少一些